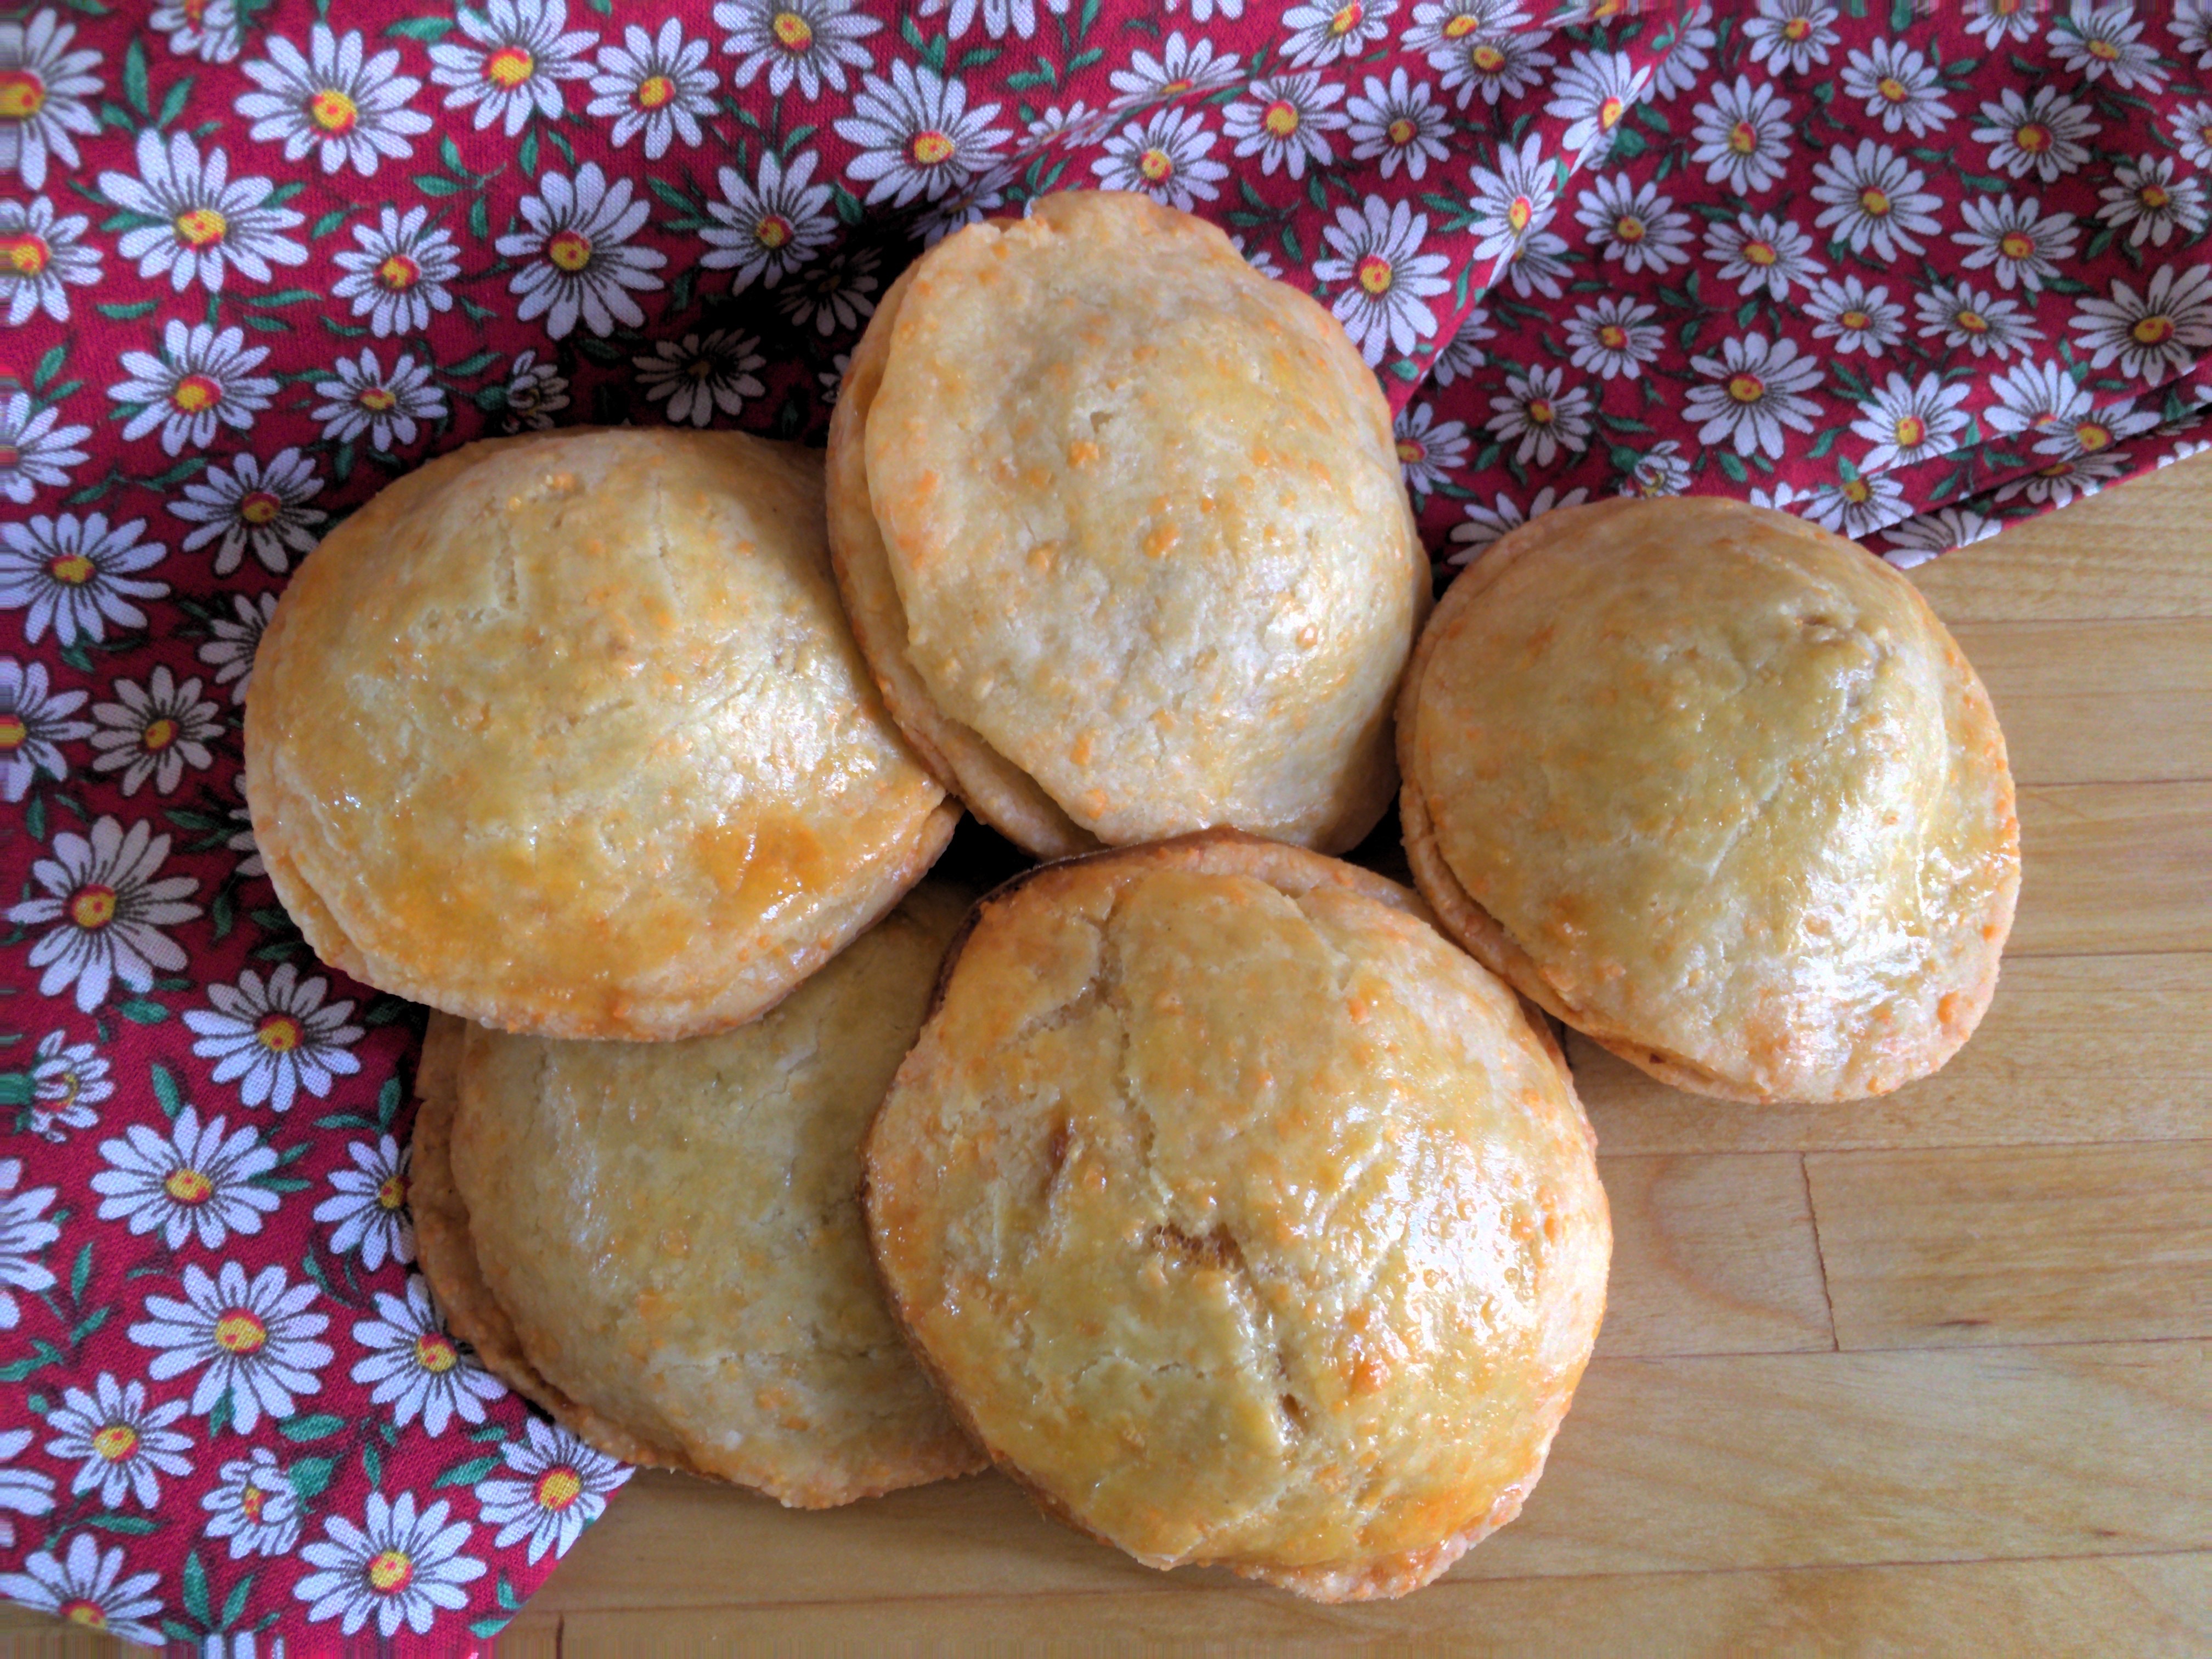
There is something special about serving fresh hot pastries for appetizers. I’ve been making versions of these pastries for years and they are always gone before anything else. I’m not going to lie; there is some work involved in making these. But, the beauty of these Barbecue Chicken Pizza Bites is that they can be frozen and made way ahead of time. The recipe makes over 40 of these tasty golden flakey pastries. I will pull out what I need if friends are coming over and have hot hors devours ready in about 45 minutes. With a little effort you can have a supply ready anytime company comes over.

For these little hand pies I’ve tried to recreate the flavors of one of my favorite comfort foods; a BBQ chicken pizza. I’ve used grilled chicken, bacon, and a sweet hickory BBQ sauce to bring out the smoky flavors. When making the filling try and keep the sizes of each of the chopped ingredients to around ¼ inch. There should still be chunks of each ingredient so err on the bigger size.

These Barbecue Chicken Pizza Bites are a fabulous addition to any party or a great snack when you just need a bit of comfort food. I hope you will make these. You will have an oven filled with tasty BBQ goodness.

Little hand pies filled with Barbecue Chicken Pizza.
- 3 1/2 cups all purpose flour
- 1 1/4 cups unsalted butter cut into 1/2 inch cubes
- 2 1/2 cups shredded Monterey Jack cheese
- 1/4 teaspoon salt
- 1/4 teaspoon white pepper
- 2 large eggs
- 3 strips Bacon
- 1 cup chopped red onion 1/4 inch dice
- 3/4 cup cubed Monterey Jack Cheese
- 1 cup chopped grilled chicken 1/4 inch dice
- 1/2 cup chopped canned pineapple bits cut into 1/4 - 1/8 inch dice
- 1/2 cup hickory brown sugar barbecue sauce
- 1 large egg
- 1 tablespoon water
-
To prepare the pastry: Place the flour, shredded cheese, salt, and pepper in a food processor and pulse several times. Add in the butter and again pulse until it resembles coarse meal about a minute more. Add the eggs and process just until the dough barely starts to clump together, try not to overwork the dough.
-
Transfer to a clean work surface and scrape any extra bits from the processor bowl. Form the dough into a ball, it may seem dry and crumbly at first, but, if you push it against the surface it will come together quickly. Try not to overwork the dough. There should still be small bits of butter and cheese in the dough.
-
Divide and form the dough into 2 disks, about ½ inch thick each. Wrap in plastic wrap and refrigerate several hours or overnight. Allow the dough to warm up for a few minutes before rolling.
-
To make the filling, heat a large skillet over medium heat, fry the 3 strips of bacon until crisp. Drain the crisped bacon on paper towels reserving 2 tablespoons of the drippings in the pan.
-
Sauté the chopped red onion in the bacon drippings until nicely browned and beginning to caramelize. It should take a few minutes to get to the nicely browned stage. With red onion it’s harder to see the caramelized stage but that’s where I try to get.
-
Allow to cool.
-
Finely crumble or chop the bacon to roughly ¼ inch pieces. In a medium bowl combine the crumbled bacon, the caramelized onion, cubed cheese, chopped chicken, chopped pineapple bits, and the BBQ sauce. The filling can be made ahead and refrigerated.
-
Take the chilled dough out of the regenerator and let warm up for a couple of minutes. Letting the dough warm up makes it easier to roll out. Beat the egg with the water and have a pastry brush ready
-
Roll out one half at a time to a rectangle to about 1/8 inch thickness. With a round cookie cutter about 3 inches in diameter, cut out as many circles as possible from the dough. Save the scraps in a ball. This dough is very forgiving.

-
Place the cut circles in nice rows of even numbers if possible. Lightly brush all the cut circles with the beaten egg mixture.

-
Scoop 1 heaping tablespoon of the filling using a spoon or a small cookie scoop onto the center of half the cut circles.

-
Place the remaining circles on top of the filled circles. Gently press and stretch the top circle to match to the edges of the bottom circles. Press firmly around the edges to seal the pastries.

-
Place the finished pastries on Silpat or parchment lined trays about 1 ½ to 2 inches apart. Or at this point they can be put onto a wax paper lined trays and frozen. (Once they are frozen solid they can be transferred to a plastic freezer bags and kept in the freezer for up to 6 months.)

-
Repeat with the remaining dough reserving the scraps. Then reroll the scraps to make as many pastries as you can. If you are not freezing them, place the finished pastries in the refrigerator to chill for 30 minutes or so before baking off.
-
When ready to bake, preheat the oven to 350°. Brush the finished pastries with the remaining beaten egg mixture. If you are baking the pastries from frozen you will need to beat a fresh egg with water. The egg may freeze on top of the pasties. That is ok.

-
Bake for 20 minutes until just golden brown. The frozen pastries may need a couple of minutes more. But check at 20 minutes. Do not over brown, the pastry can get bitter.
-
Serve hot.


