


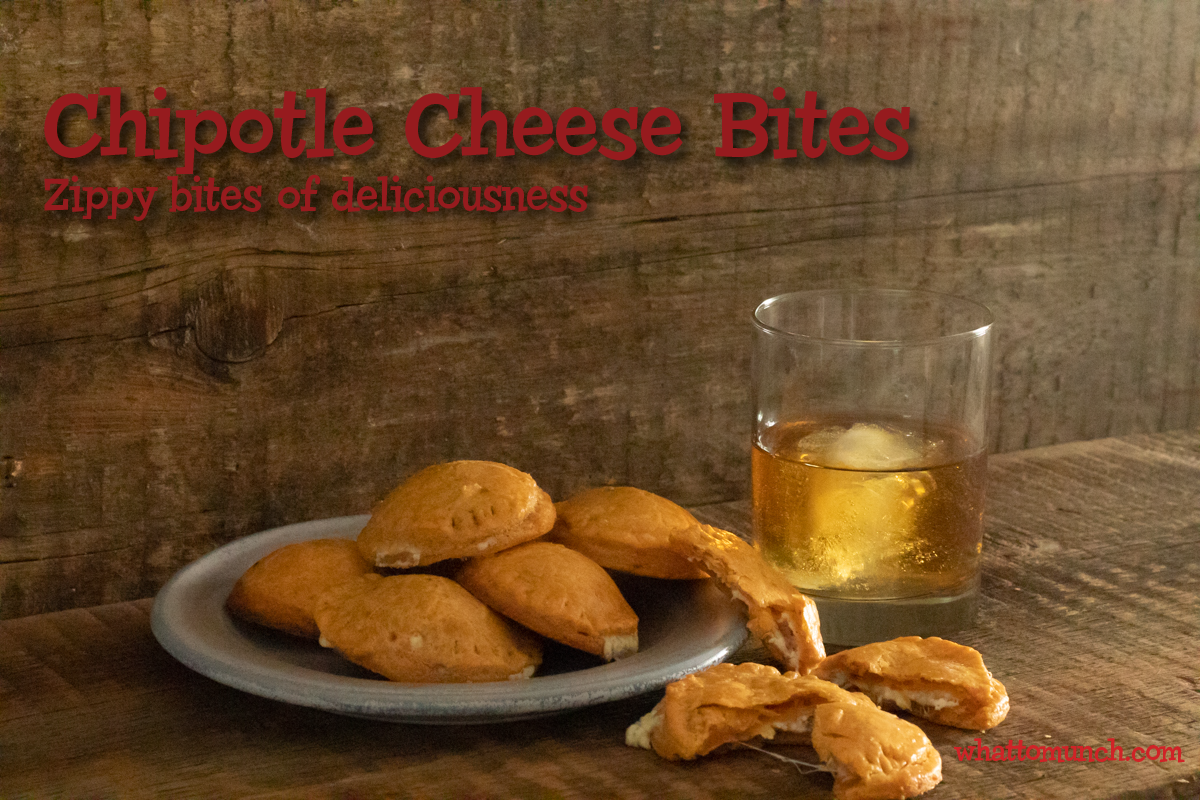
Chipotle cheese bites are everything I’ve wanted in a little pastry, perfect for a snack or a party. I made these chipotle crackers a few weeks back, and my mind kept saying, what if I used the idea to make some little cheese filled hot pastries? Wow! These are fabulous. The idea was just sitting up in my brain, waiting to come out and play. I finally had a bit of time to really play with the idea. Boy, am I glad I did. I wanted to try and mimic the way ranch dressing mellowed the spiciness of the cracker. I played around with a ranch dressing recipe, and the filling may be the star of this. It complements the smokey, spicy exterior. Wonderfully. And I would be proud to serve these little spicy bites anytime, anywhere.

I have posted several different little pastries or hand pies over the years, and the dough has never failed me to make incredible bites for entertaining. This new addition will make a tray of tasty appetizers even better. They would complement the savory butternut squash and goat cheese versions and the sausage, apple, and leek ones perfectly.

These chipotle cheese bites are a bit of work, yes. But if you take the steps one at a time, and over a couple of hours or even days it’s not bad. And worth all the effort. They can be made the day before and baked right as your guests arrive. These pastries freeze beautifully too, so you can make them ahead and have them when company comes over anytime.

The key to making these is the cheese. Make sure you choose a really flavorful one. An English farmhouse is a perfect choice full of flavor and delicious. Tillamook makes several great cheddars if you want American too. But even a different kind of cheese works excellent in this recipe, like gruyere or even a gouda. I have used a liquid amount instead of the number of chilis in adobo sauce for this recipe. It is about the liquid as much as the number of chilis. Since the chilis can vary in size in the can, you will have to measure by volume.

This is one of the few recipes that are hard to make by hand. A food processor or maybe a blender is necessary to get the chilis chopped enough and the cheese blended into the dough. If you don’t own one, here is the link for a fantastic Cuisinart on Amazon. (I get a small tiny fee if you use any link on this page) It is the workhorse for any big chopping, blending, and many other uses in my kitchen. I highly recommend having one in any kitchen.

As always, please stay kind and thoughtful towards others. Stay safe and have a great week.

- 1/3 cup finely chopped chipotle chilis in adobo sauce
- 3 1 ⁄2 cups unbleached all-purpose flour
- 1 1 ⁄4 cups 2 1⁄2 sticks unsalted butter, chilled, cut into bits
- 2 1 ⁄2 cups shredded sharp Cheddar cheese. It is all about the flavor so don't skimp.
- 1 teaspoon smoked paprika
- Pinch salt
- ½ teaspoon smoked paprika
- 1 ⁄4 tsp ground black pepper
- 2 large eggs
- 1 8 oz package cream cheese softened
- 1 ½ cups shredded cheddar cheese
- 1/2 teaspoon garlic powder
- ½ teaspoon onion powder
- ½ cup mayonnaise
- 1 tablespoon dried parsley
- Pinch of salt and pepper
- 1 larger egg
- 1 tablespoon water
-
Prepare the pastry:
-
Finely chop the chilis in the food processor. Add the flour, butter, Cheddar, smoked paprika, and salt.
-
Process until the mixture resembles a coarse meal.
-
Add the eggs and process just until the dough comes together. If it is particularly dry weather, you may add a tablespoon of water to help moisten, but no more, the dough will look a little dry but will come together.
-
Divide the dough into halves and flatten into disks. Wrap each half in plastic wrap and refrigerate several hours or overnight.
-
While the dough is chilling, prepare the filling to chill along with the dough.
-
In a medium bowl, combine together the cream cheese, shredded cheese, garlic powder, onion powder, mayonnaise, and salt and pepper pinches.
-
Thoroughly blend the mixture together.
-
Cover and chill with the dough.
-
When you are ready to assemble the pastries:
-
Line a couple of baking sheets with Silpat, parchment, or spray with cooking spray.
-
Beat the egg and water together in a small bowl and set aside.
-
Roll out half of the chilled dough 1/8-inch-thick on a lightly floured surface. Or, if you have space, you can roll out the entire dough first before filling.
-
With a round cookie cutter about 2 1⁄2 inches in diameter, cut out as many circles as possible from the dough. You can reroll the scraps to make more circles. This dough can be somewhat forgiving.
-
Brush half of the dough circles with the beaten egg mixture.
-
To make the pasties, put a tablespoon of filling in the center of the remaining dough circles.
-
Cover each filled circle with a brushed egg circle facing down and seal by pressing the edges together with a fork's times. Try and seal the edges well as they will leak out if not properly sealed.
-
Place the filled pastries onto the prepared baking sheets spaced 1-2 inches apart.
-
Repeat with the second half of the dough.
-
The pastries can then be baked immediately, or at this point, the pastries can be covered and chilled for baking up to a day later. They also freeze beautifully.
-
When ready to bake, preheat the oven to 350°.
-
Brush the pastries with more of the beaten egg mixture. If you have waited to bake the pastries, beat another egg with a tablespoon of water and glaze tops at the time of baking.
-
Bake the pastries in the oven until light golden brown, about 20 minutes. Try not to over bake them as they will taste burnt.
-
Let cool briefly and serve hot.
If you have frozen the pastries, take them out and place them back on lined baking sheets. Brush them with egg when you start to preheat the oven. When the oven has pre-heated go ahead and bake them, no need to defrost further. They will take just a few minutes more to bake but keep an eye on them.
