


These hawaiian Rolls are tasty easy and they are so Fluffy!

My first experience with Hawaiian rolls was as a 12-year-old. Mom got to host a Hawaiian Luau at our home in Los Altos for PWP (parents without partners.) I didn’t actually get to go to this party, oh no! This was back in the day when there were adult functions that the kids were all sent away to some other home for the evening while the adults played the night away. While I wasn’t there for the Luau, during the day, the catering people who were running the show, transformed my childhood home into a tropical paradise and I got to mill around and watch the setup. It was my first experience with a themed party, and I’ve always been fascinated by them ever since.

The caterers dug a massive hole in the backyard lined with banana leaves to roast the pig and took over the kitchen to prepare all the tasty food that the party required. I remember loads of tiki torches and beautiful flowers everywhere inside and out. The caterers had huge platters of salads, fruits, and lots of this golden sweet soft fluffy bread that I had never seen before. I remember sneaking huge handfuls and stuffing my face off in a corner. I could not get enough of it.

I also remember, as a side story, being traumatized that morning. The pig that was about to be roasted in the excavated pit in the backyard was being stored in the bathtub. No one told my brothers and I about it and walking into the bathroom all bleary-eyed to a dead pig in the tub was quite the surprise!

Nowadays You can’t go very far without hearing an ad for Hawaiian bread. You can find it in most of the supermarkets across the states. Originally Kings Hawaiian rolls were made and sold on the Big Island of Hawaii starting in the 1950s. They became a local favorite and expanded to Oahu and beyond. Now based in Torrence Ca. They still bake them from the original recipe.

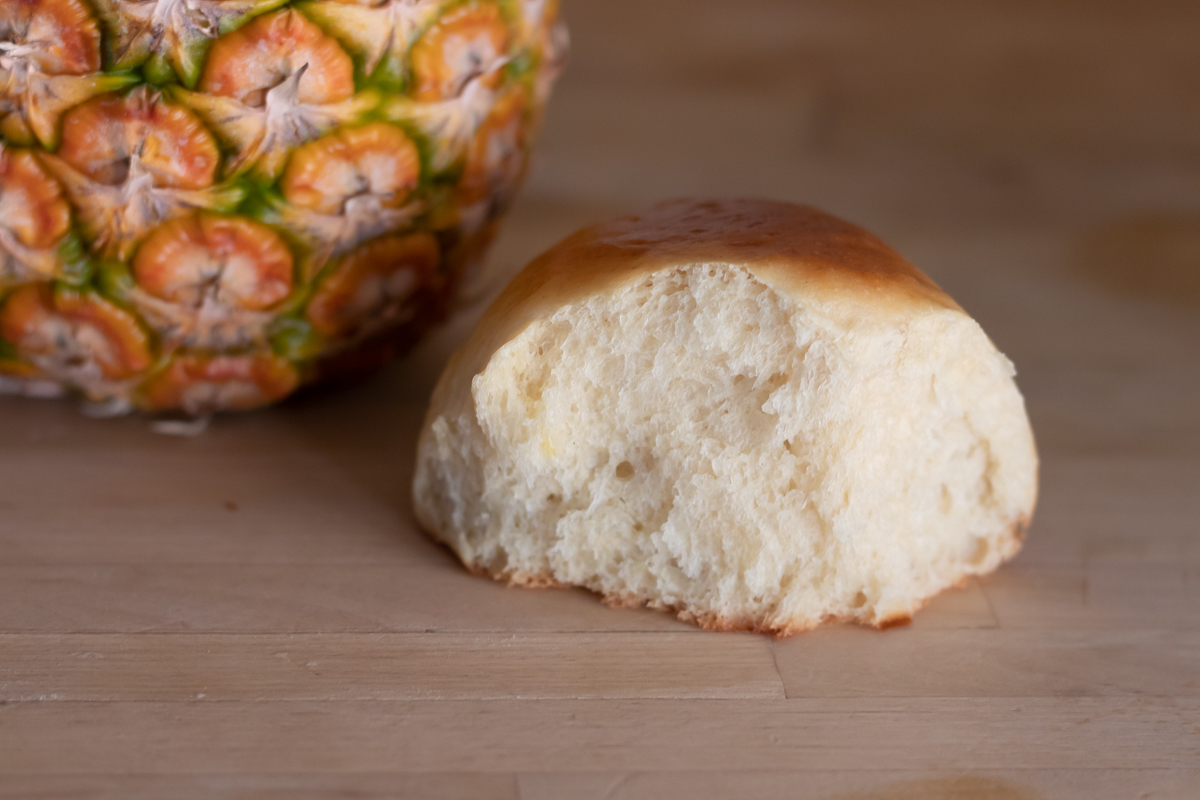
But why can’t you bake delicious ones, homemade from your own kitchen? I decided to play with a couple of recipes, and I think I’ve found a great one that doesn’t take too much effort. One of the problems I seem to notice in recipes online was that there wasn’t enough pineapple flavor. In this recipe, I think I solved the issue by taking pineapple juice and reducing it to concentrate the flavor. It also addressed the problem that if you don’t cook pineapple juice to at least 200° the juice still has enzymes that interfere with the yeast growth. This is a sweet dough if you can find Saf Gold yeast which is designed to work with breads that have high sugar content. If you can’t find the gold yeast, you can use regular yeast, but it will take longer to rise.


- 1½ cups pineapple juice 2 6 oz Cans
- 3¼ cups all-purpose flour
- 1/3 cup lukewarm water
- 1 tablespoon instant yeast preferably Saf Gold
- 2 teaspoons vanilla
- ¼ cup unsalted Butter softened
- 3 eggs at room temperature
- ½ cup brown sugar
- 1 teaspoon salt
-
In a small saucepan bring the pineapple juice to a boil. Continue to boil until the juice has reduced to ½ cup.
-
Let juice cool while you make the sponge.
-
To make the sponge, mix ¼ cup of the all-purpose flour, 1/3 cup lukewarm water and the tablespoon of the yeast in the bowl of a mixer.
-
Combine well and let sit for 20 minutes. The sponge should start to puff up and look spongy.
-
Add the remaining flour, the vanilla, butter, eggs, brown sugar, and the salt.
-
With a dough hook knead the dough for 6 to 8 minutes. The dough should get smooth but will not pull all the way away from the sides of the bowl.
-
Lightly grease a 4-5 cup bowl. Scrape the dough into the greased bowl and cover.
-
Let rise for an hour or a bit more depending on the temperature of your kitchen, until the dough has more than doubled but not tripled.
-
Lightly grease a 13 x 9 baking pan.
-
On a lightly floured work surface and with floured hands divide the dough into 16 equal pieces. The dough will be a bit sticky. Roll each portion into a smooth ball and place into evenly into the prepared pan. I did offset rows of four.
-
Brush the rolls with a beaten egg as an egg wash.
-
Let the rolls rise for one hour or until very puffy and nearly doubled.
-
While the rolls are rising, preheat the oven to 350°.
-
Brush the rolls again before you put them into the oven
-
When the rolls have risen, bake them for 20 to 25 minutes or until nicely golden brown.
-
Let the rolls cool in the pan for 1a few minutes and then turn out onto a cooling rack.
-
You can serve these rolls warm or let cool completely and store well wrapped for several days.