


Sourdough starter for a novice can be a bit intimidating. But I find baking with a sourdough starter has been one of the most rewarding experiences in my life. I have been baking with a sourdough starter for going on 30 years. And over that time, I have learned quite a few things. But I am still learning new things about sourdough all the time.

I have recently moved from New Jersey to Colorado. I am absolutely thrilled about my new life here and excited about the prospect of new and exciting adventures here on the Front Range. Through a series of unfortunate events, my poor starter did not survive the journey. I had made every precaution to keep it alive in a cooler for the 4-day drive. But I had a considerable hiccup of car trouble in the middle of Pennsylsiltucky. (As my friend calls the middle of nowhere Pennsylvania!) The cooler was stuck in a garage for almost a week with no way to get into it. Hence, it’s demise.

Building a successful sourdough starter takes a bunch of flour and definitely some patience. But it is worth all the effort. And you will be enjoying sourdough for many years. There is much talk lately about the idea of health benefits from eating fermented sourdough goods. One of the most promising is for people who are gluten intolerant. They may be able to eat sourdough with no ill effects.

But this gave me an awesome opportunity to start a brand new starter here in Berthoud, Colorado. I will say I am more than pleased with how incredibly robust my new starter has become. It is a very robust and active starter. I decided it was finally time I do a post on how to start your own. I have used my favorite method, modified from Nany Silverton’s’ Amazing book on sourdough baking called Breads from La Brea Bakery. (Link here from Amazon, I get a tiny commission if you use the link.) I have adapted it from her original recipe and think it is a great way to start a starter. Her recipe uses red grapes to give the starter a great start. The grapes have natural yeasts on their skins, and the sugar from the fruit gives a fantastic food source to help get the starter going.

I have tried to give some advice in the recipe on my success. One thing to remember is that your starter is alive and needs to be fed on a regular basis. Not that you can, and I so often do, put your starter to bed in the fridge for weeks at a time (actually up to 4 months is fine) You just need to wake it up when you are ready to make some sourdough.

Starting and maintaining a sourdough starter can be a complicated and detailed task. But with a bit of patience and know how you can keep a healthy starter for many years and even pass on part of your starter to family and friends. If you have a controlled environment conceivably, a starter can keep for hundreds of years.


I have had several starters over the years, and some have died horrible deaths no matter what I have done to keep them alive. I suspect at least one of them was from using filtered water from my Brita. Hence I have stopped recommending using a Brita and actually using tap water from your area. Unless it is very chlorinated, I seem to actually have a more robust starter from just using tap water. One thing I have learned is to use whole wheat flour occasionally in the feeding of the starter as there seems to be something in the whole wheat that gives a starter a bit of a boost. However, I would not recommend using whole wheat all the time as the bran from whole wheat seems to get rancid. I use only ½ a cup every once and a while. (Say once a month or two.) And use all white, either bread or all-purpose, for the main flour for feeding.

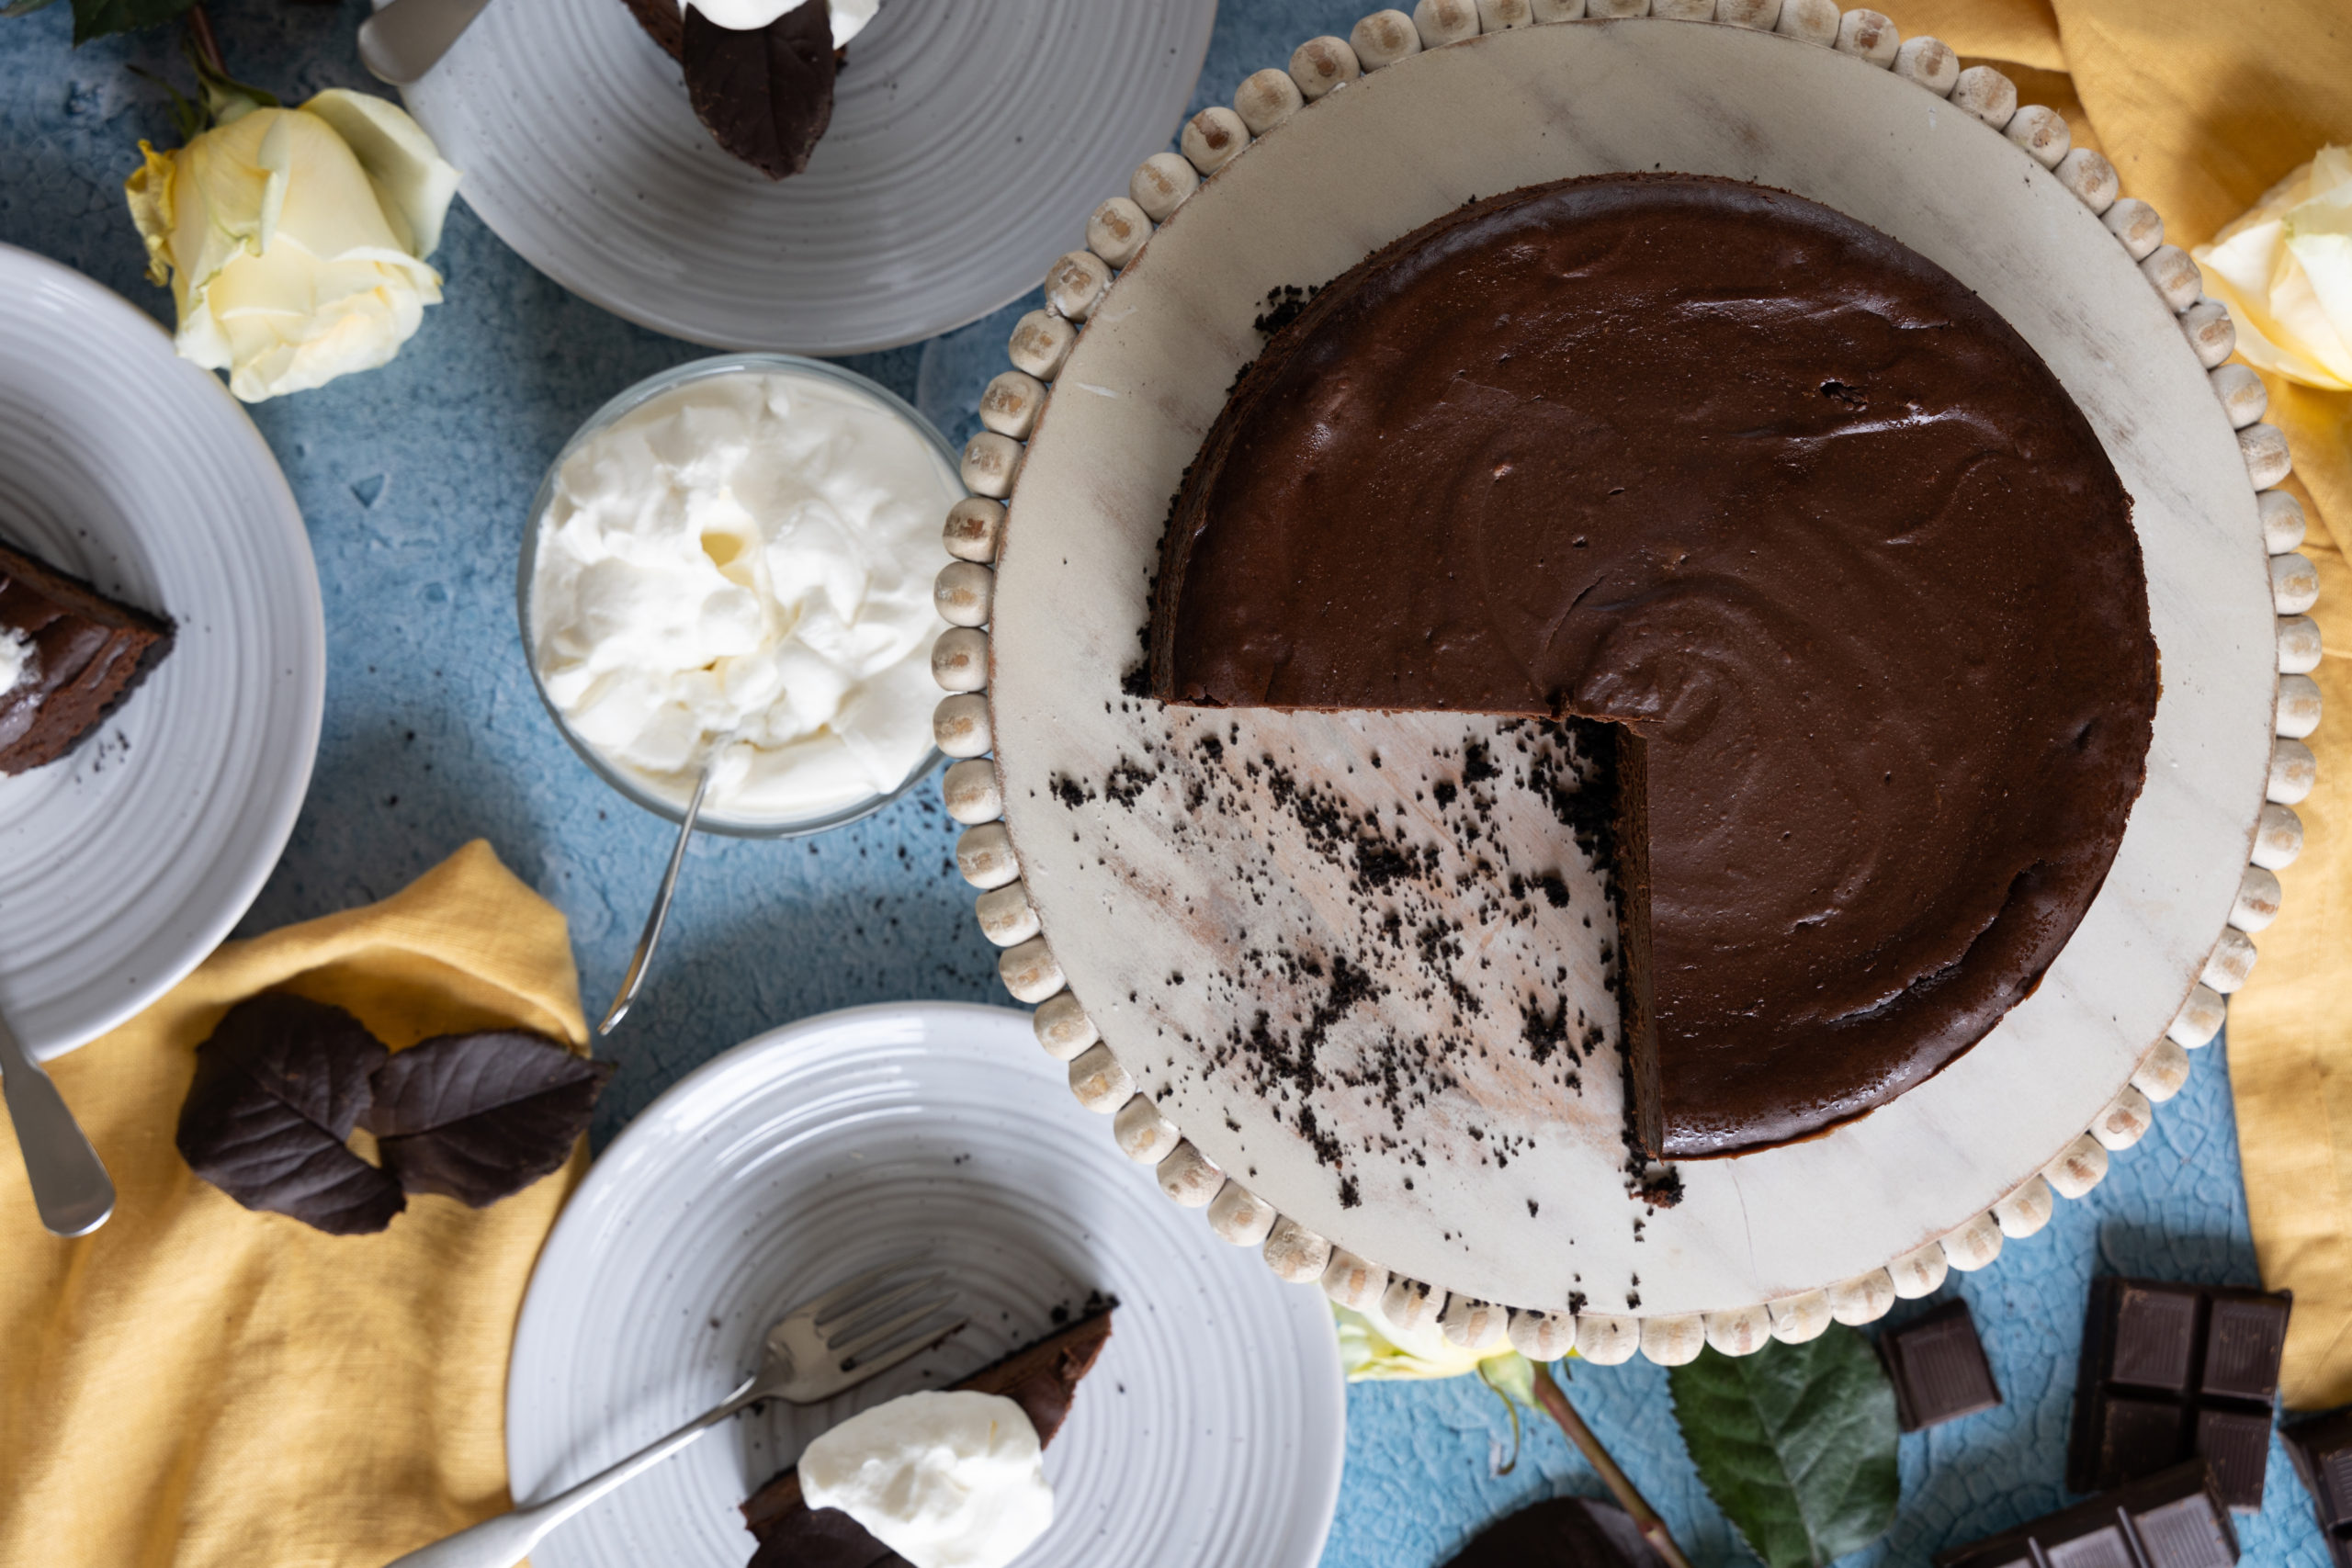
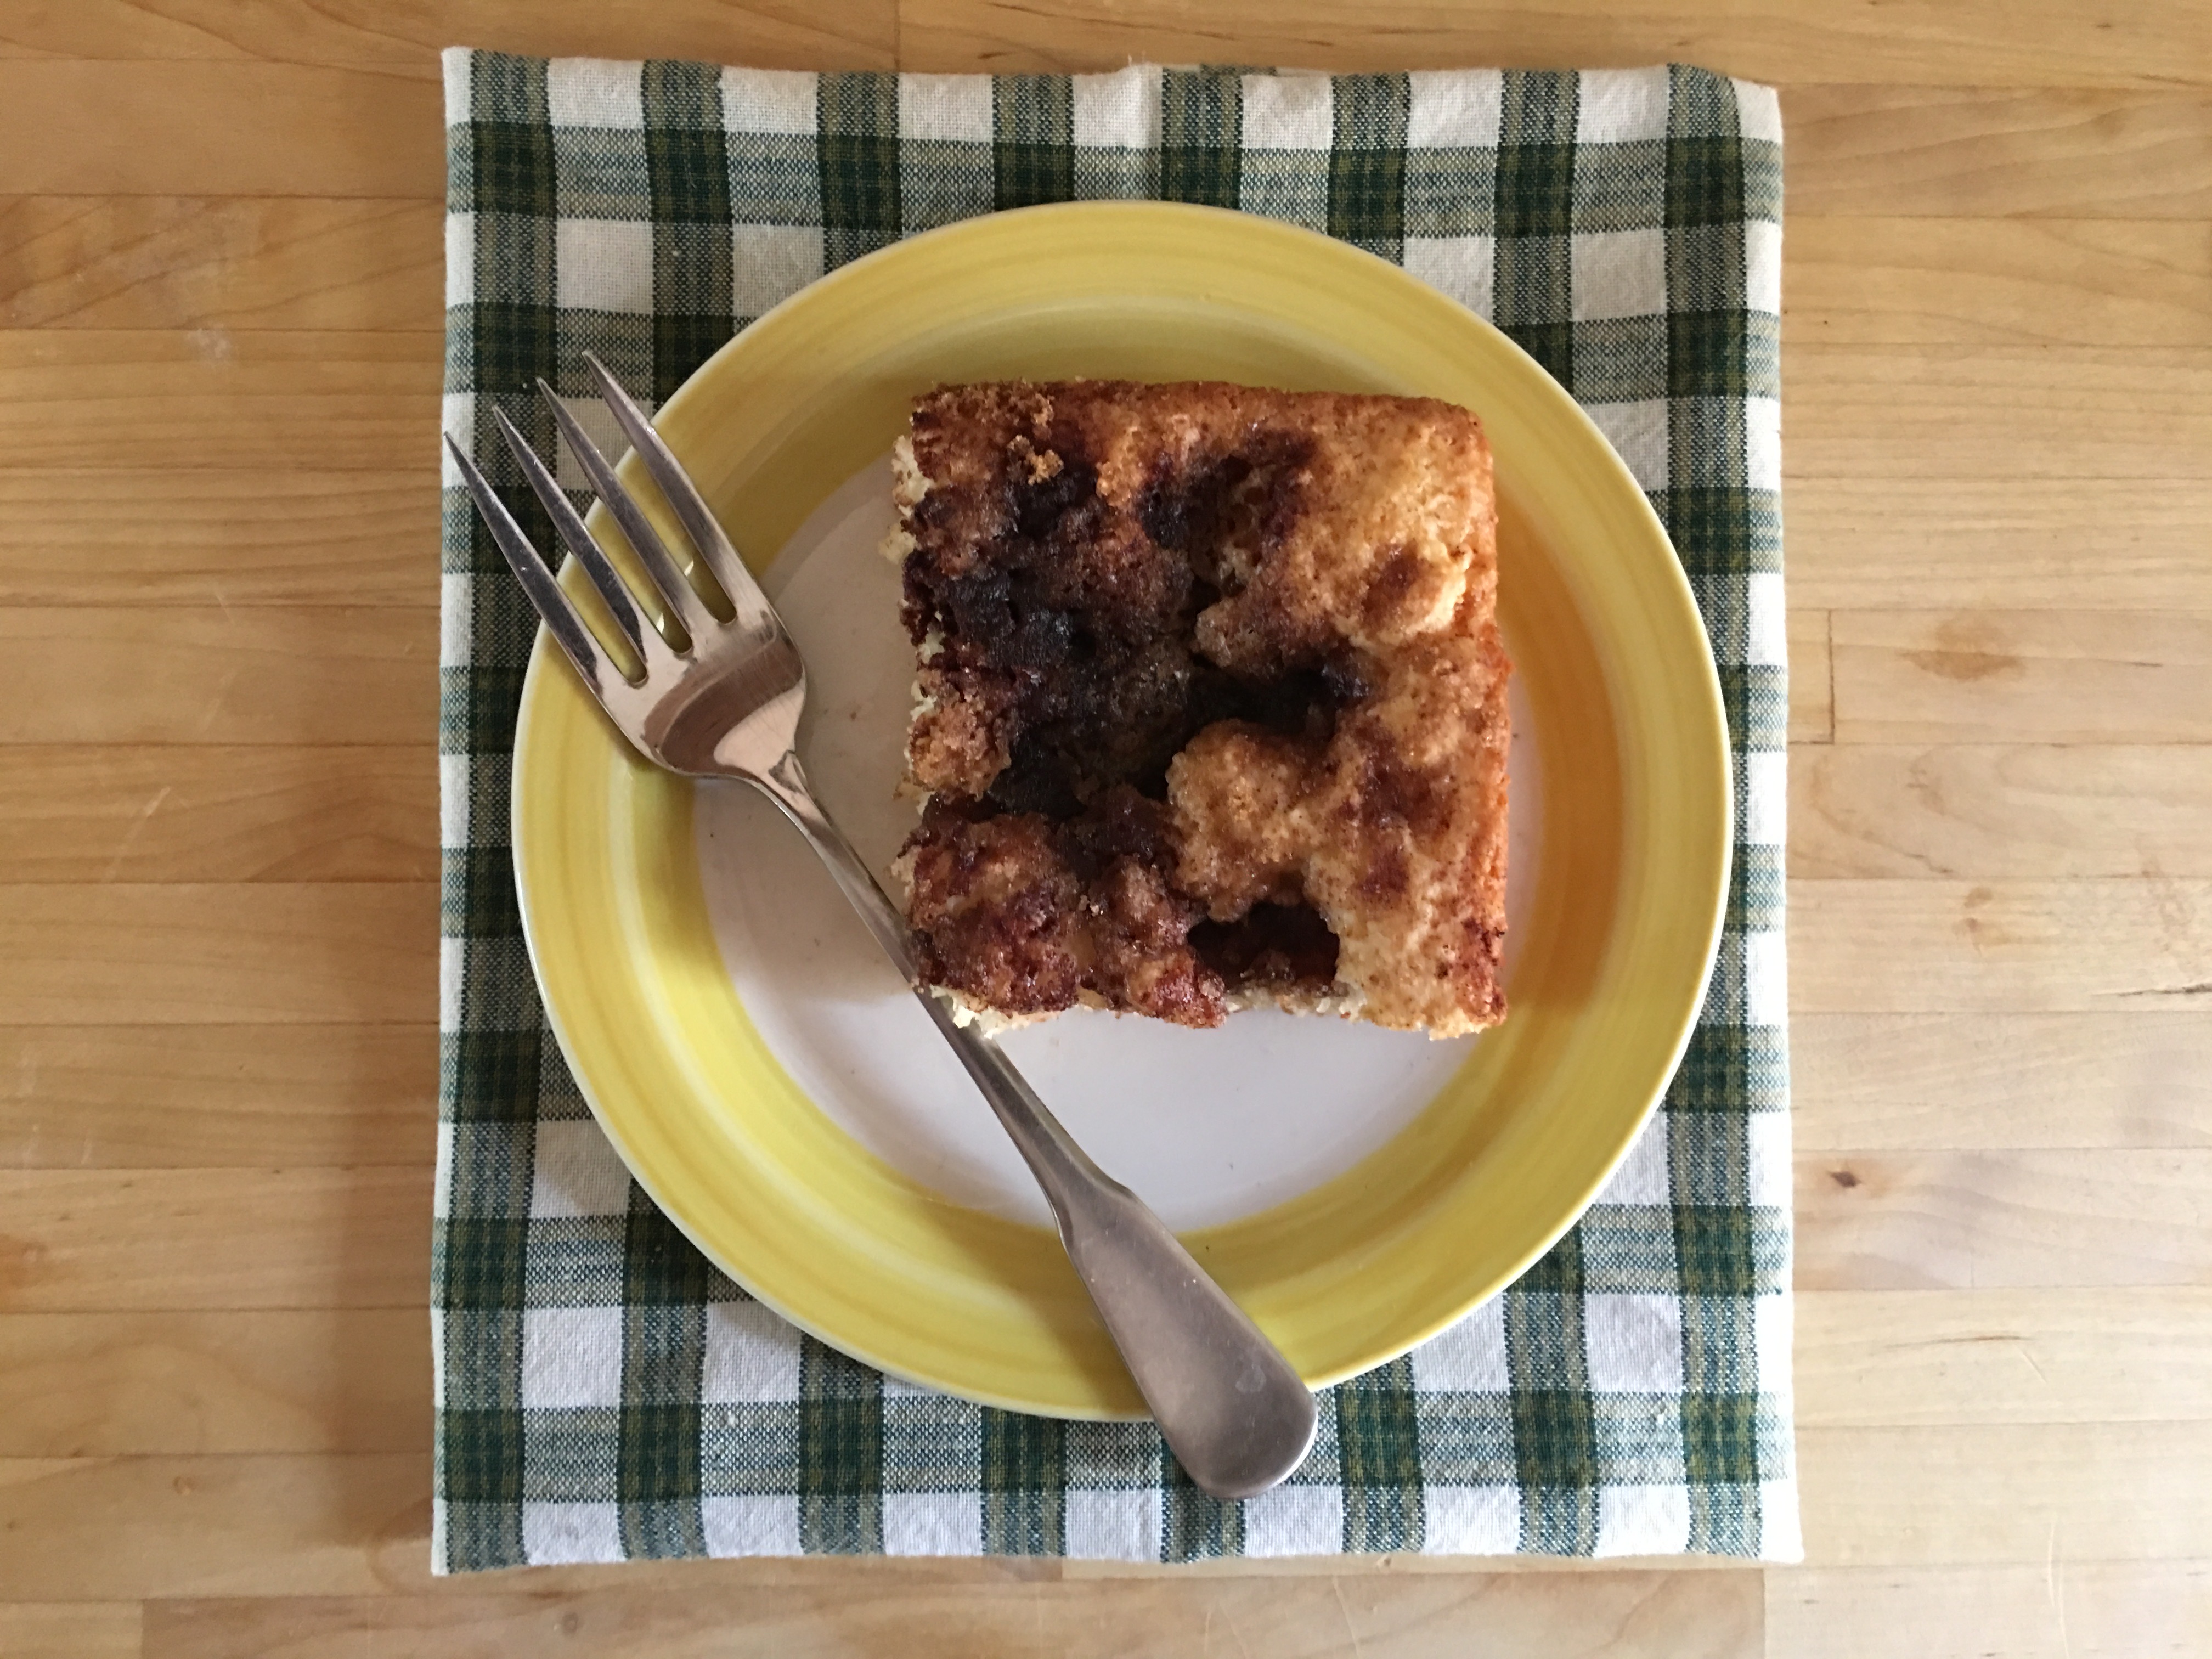
I have many recipes that call for sourdough beyond the usual bread. I highly suggest you try out Sourdough Waffles and Walnut English muffins. And don’t be afraid to play with sourdough bread, adding walnuts like I have in this post is still my absolute favorite way to bake a loaf of sourdough. Next week I am going to post a fantastic Sourdough Apricot cobbler, which is a fantastic way to use a sourdough starter.

Let me know in the comments below or email me at what2munch@gmail.com if you need any advice on sourdough. I would love to help in any way I can.


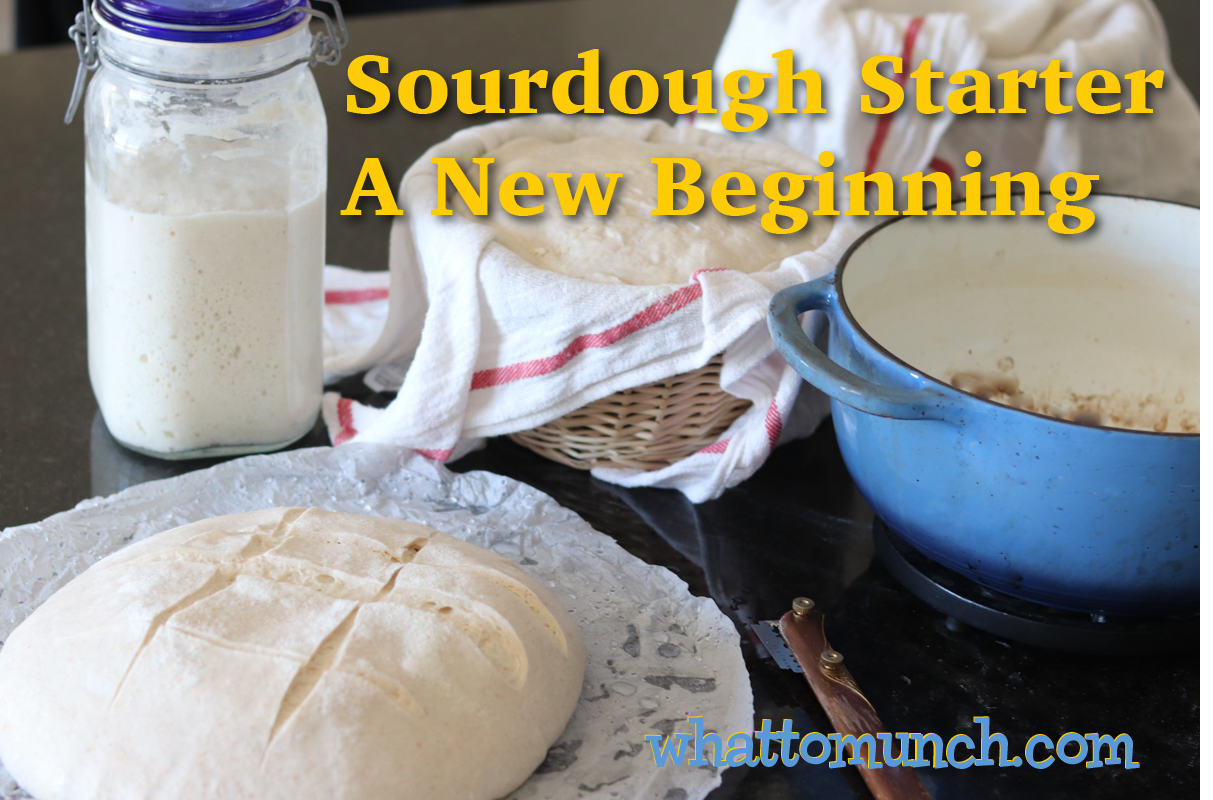
A guide to starting your own sourdough starter using grapes as a way to help get your starter going.
- 2 cups all-purpose flour
- 2 cups water filtered if possible
- ½ lb red purple, or black grapes, preferable organic. DO NOT WASH
- Several layers of cheesecloth
- Twine
- ½ cup whole wheat flour
-
DO not wash the grapes! You want the natural yeast from the outside to start the sourdough starter.
-
Clean very thoroughly a large nonmetallic bowl or plastic container that can be sealed with a lid or plastic wrap.
-
Wrap the grapes in well-washed cheesecloth, tying the corners to form a bag with twine.
-
Lightly crush them with a rolling pin or clean hands (to release some of the sugar in the fruit and to mix with the natural yeast on the skins.)
-
Immerse them in the flour-water mixture, swirling them through to mix.
-
Cover tightly with a lid or plastic wrap.
-
Leave at room temperature for 5 days, stirring once or twice a day.
-
The bag of grapes will eventually appear inflated, and liquid will begin to separate from the flour mixture. The mixture will smell slightly fruity and maybe a bit sour. The color will be strange; depending on the grapes, it may even be purple! That is as it should be.
-
By the fifth day, the bag of grapes will have deflated, the color will be yellow, and smell pleasantly sour. The fermentation is complete. The starter is living but weak, and it needs to be fed.
-
Remove the grapes and squeeze their juices back into the starter through the cheesecloth.
-
Add the ½ cup whole wheat flour and stir thoroughly.
-
Let sit for another 24 hours.
-
Pour off and discard 1 cup of the starter mixture and stir in 1 cup of all-purpose flour and one cup of water. Let the mixture sit for 24 hours more. Have faith, the mixture needs to be fed and start to grow its strength. There should be some bubbling going on, but it will it might not be much at first. Mine showed almost no life, and then all of a sudden, on the 7th day, it began to really bubble up and grow in size.
-
Repeat this again for several days to really give the starter some strength building. Switching between all-purpose flour and whole wheat every other day. Feeding once a day until your starter starts to really bubble up and grow substantially with life. Then switch to twice a day for a day or two. The starter should really increase in volume; sometimes, it will even triple. This entire process will take almost 2 weeks to really get some strength.
-
It is time to place your starter in its new home. You will need a jar or plastic container large enough to have the starter grow to more than triple its size. I use a quart size glass jar with a sealable lid.
-
Pour out and discard all but 1 cup of the stirred down starter. Feed the starter with one cup of flour and one cup of room temperature water. I will vary the flour content between all all-purpose flour ½ whole wheat and ½ all-purpose as a boost. (I find that the whole wheat flour seems to help give it some vigor. But too much whole wheat flour seems to be too much with the bran turning rancid in the whole grains.)
-
From this time on, you have a living and even breathing starter that needs to be kept fed and watered. It needs to be fed every 6-12 hours when it is not in the fridge. It all depends on how active your starter is how often you need to feed it to keep it alive.
-
When you are not using your starter keep the starter in the fridge in a sealed container. It can be left safely for as long as 4 months without feeding. If it has been longer than a few weeks, you will probably need to feed your starter several times before the starter becomes back at full strength.
-
A starter will mature over time and develop its own flavor and sourness. Give the starter some time to develop its character. Depending on where you live, the yeasts from your region will be more or less sour. But the age of your starter will also influence its flavor.
Note, after the first week, and it starts to bubble and froth a bit, you can alternately place the starter in the fridge for 12 hours at a time and take it back out when you have time to feed if you need to.
I find that using whole wheat every once in a while gives the starter zsome extra oomph, as whole wheat flour gives this starter recipe some boost. But if I use all whole wheat flour all the time, the bran in the whole wheat will go rancid, so I only feed the whole wheat every once in a while, say once a month or so.
Treat your starter as a pet or even a friend that needs nurturing. I suggest you actually name your starter as a way to have a “relationship” with your child!
